As winter approaches, it’s crucial to prepare your beehive for the cold months ahead. Properly winterizing beehives is essential for ensuring the survival and well-being of your colony. In this guide, we’ll walk you through step-by-step instructions and best practices for winterizing your beehive.
Why Winterizing is Important
Bees are remarkable creatures, but they are vulnerable to harsh winter conditions. By winterizing your beehive, you’re providing your colony with the best chance of surviving through the colder months. This process involves insulating the hive, ensuring adequate food stores, and reducing drafts to maintain a stable temperature.
Step 1: Assess the Hive’s Health
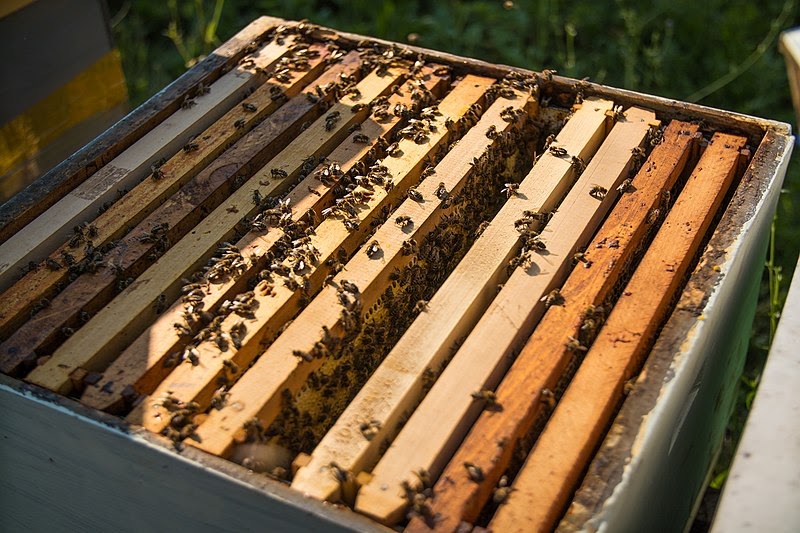
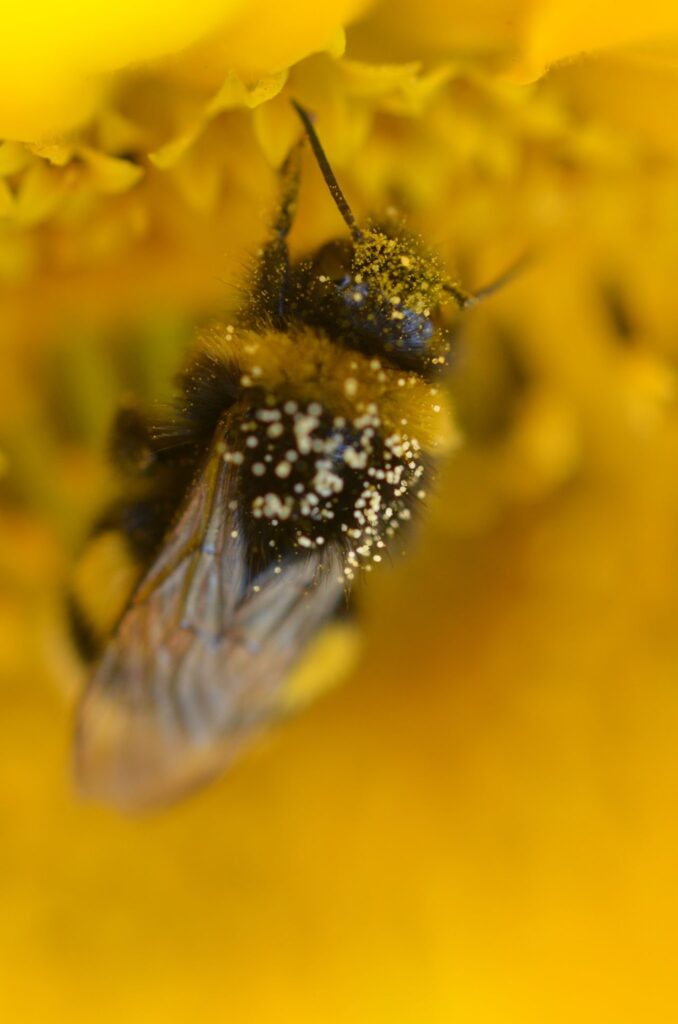
Before you start winterizing, it’s crucial to assess the health of your colony. Maintaining a healthy bee colony is the cornerstone of successful beekeeping. Start by conducting a thorough visual inspection of your hive. Look for signs of activity around the entrance, such as foraging bees returning with pollen or nectar. Observe the overall behavior of the bees – active and focused bees are a positive sign.
Then examine the exterior of the hive for any physical damage or signs of wear and tear. Pay close attention to the condition of the hive boxes, frames, and roof. A well-maintained hive is more likely to support a healthy colony. Inspect the frames for signs of pests or diseases. Look for mites, beetles. Varroa mites, in particular, can have devastating effects on a bee colony if not promptly addressed.
Additionally, check for signs of diseases like American Foulbrood or Nosema. Any abnormal behavior or appearance of the bees should be thoroughly investigated. Pay attention to the behavior of individual bees. Look for signs of stress or aggression, as well as any unusual behavior patterns. Bees behaving erratically or excessively aggressive may signal a problem within the colony.

Step 2: Assess Honey Stores
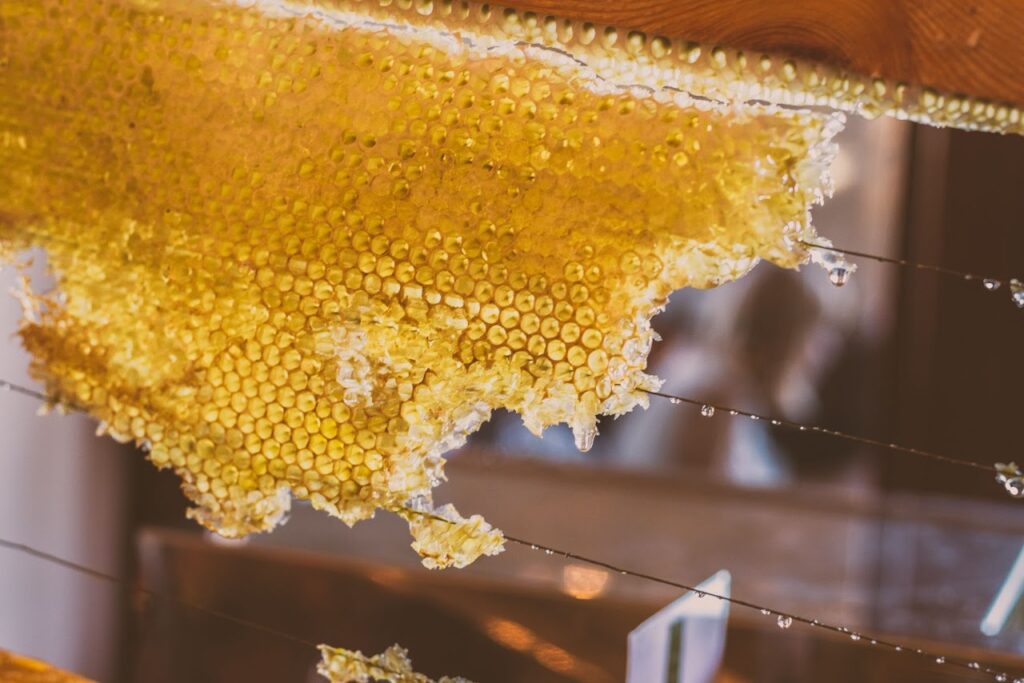
Healthy brood frames are typically surrounded by cells filled with pollen and honey. This indicates that the colony has access to a diverse and nutritious food supply, which is essential for brood development.
Adequate food stores are essential for a thriving colony during winter. Bees rely on honey as their primary source of nutrition when foraging becomes challenging. Ensure that your hive has enough honey frames stored for the winter months. If necessary, consider supplemental feeding with 2:1 sugar syrup.
Step 3: Insulate the Hive
Insulation helps regulate the temperature inside the hive, preventing extreme fluctuations. Consider wrapping your hive with insulating material such as bubble wrap or specially designed hive wraps. This extra layer will help retain heat and keep your colony cozy.
Step 4: Reduce Drafts
Drafts can cause stress and lead to higher energy consumption by the colony. Seal any gaps or cracks in the hive to minimize drafts. Pay special attention to entrances, ventilation holes, and the hive’s roof. Apply weather-resistant tape or insulation material to the exterior of the hive where you’ve identified gaps or cracks. Make sure to cover the entire area to prevent air from seeping through.

Step 5: Provide Ventilation
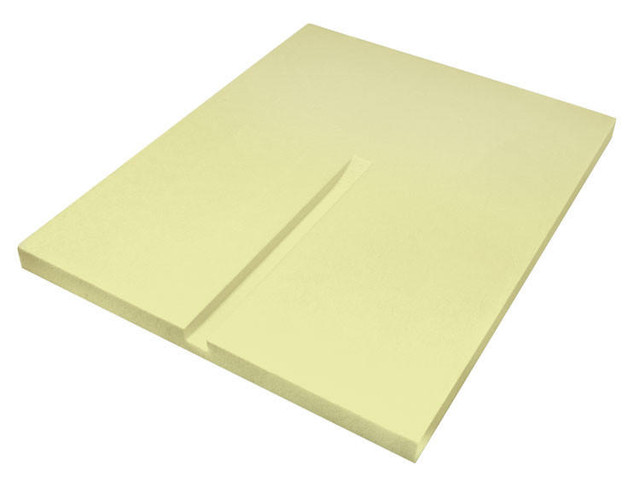
While it’s crucial to reduce drafts, proper ventilation is equally important. Adequate airflow prevents moisture buildup, which can be detrimental to the colony. Install a moisture board or quilt box to absorb excess moisture while still maintaining good ventilation.
A moisture board, also known as a moisture quilt or ventilation quilt, is a component used in beehives to help regulate humidity levels and prevent excessive moisture buildup inside the hive. It serves as a crucial tool for hive management, particularly during periods of high humidity or in colder climates where condensation can be a concern.
Here’s how a moisture board typically functions:
Design and Construction: A moisture board is a specialized inner cover or shallow box with an open bottom. It is usually made of wood and has a breathable material on the top surface, such as burlap or mesh.
Installation
The moisture board is placed directly above the topmost hive box, just beneath the outer cover.
Absorption of Moisture
The breathable material on top of the moisture board acts like a wick, allowing excess moisture to be absorbed from the hive’s interior. This helps prevent the buildup of condensation on the inner surfaces of the hive.
Ventilation
The open bottom of the moisture board allows for airflow. This is crucial for preventing stagnant, moist air from becoming trapped inside the hive.
Insulation (Optional)
Some moisture boards may have an additional layer of insulating material, like sawdust or wood shavings, between the breathable top and the hive’s interior. This provides an extra layer of insulation while still allowing for moisture absorption.
Usage in Winter
During colder months, moisture boards are particularly valuable. They help prevent the formation of ice on the inner surfaces of the hive due to condensation, which can be detrimental to the bees.
Monitoring and Maintenance
Beekeepers should periodically inspect the moisture board for signs of excessive moisture. If the material becomes saturated, it may need to be replaced or dried out.

Overall, a moisture board plays a crucial role in maintaining a healthy and comfortable environment for the bee colony. It helps prevent excess moisture, which can lead to issues like mold, mildew, and stress on the bees. Beekeepers should consider using a moisture board as part of their hive management strategy, especially in regions with high humidity or during the winter months.
Step 6: Monitoring and Maintenance
Throughout the winter, periodically check on your hive. Look for signs of activity around the entrance, and monitor food stores. If necessary, provide supplemental feeding to ensure the colony has enough sustenance to last through the winter. Providing supplemental feeding to your bees in winter is crucial to ensure they have enough food stores to survive through the colder months when foraging opportunities are limited.
There are a few options for supplemental feeding:
Sugar Syrup: In warmer weather, you can prepare a sugar syrup mixture with a 2:1 ratio.
Fondant or Candy Boards: Mix granulated sugar with a small amount of water to create a thick paste. Create a hole in the center of the fondant or candy board to allow the bees access. Place the board on top of the frames, beneath the inner cover.
Dry Sugar Feeding: Spread granulated sugar on a sheet of newspaper placed on top of the frames. Mist the sugar lightly with water to help the bees pack it down. Place an empty super or an eke (an additional space above the hive) around the top of the frames to provide room for the sugar.
Pollen Substitutes: In addition to sugar, providing a pollen substitute can help ensure the colony has sufficient protein for brood rearing. Commercial pollen substitutes are available and can be provided in patty form.

Remember to monitor the food stores regularly throughout the winter. If the bees consume their stored food quickly, continue to provide supplemental feeding as needed. Always ensure that the feeding methods and materials used are safe for bees and free from contaminants. Following these guidelines will help support your bee colony through the winter months.
Conclusion
Winterizing your beehive is a crucial step in ensuring the well-being and survival of your colony during the colder months. By providing adequate food stores, insulating the hive, reducing drafts, and maintaining proper ventilation, you’re giving your bees the best chance at a healthy winter. Regular monitoring and maintenance are key to a successful winterization process. By following these steps, you’ll be well on your way to a thriving hive come springtime. Happy beekeeping!
Sign up for the Giggles and Gloves Newsletter below, then click here to learn about treating for varroa.